


Amigurumi: Sewing Pieces Together
Techniques | 1 min read time
Tutorial Overview
In this video, we'll show you how to sew together, and complete, your amigurumi toy.
Your pattern will indicate where the pieces should be sewn together by giving the number of the round it should sit on.
Your pattern may also give the measurements that should be between each component, such as how far apart two arms should be when attached to the body.
Watch
Step-by-step guide
Step 1:
First, lay out the pieces, ready to be assembled.

Step 2:
Your pattern will specify where each part should be attached.

Step 3:
Some parts may have open edges that need to be sewn together.
This will allow them to move more freely once attached.

Step 4:
If your pattern says to close an open edge, start by using whip stitch to get a neat, secure finish.

Step 5:
Keeping your yarn attached and threaded through your sewing needle, line up your 2 pieces of amigurumi, then carefully attach them using whip stitch again.


Step 6:
Then push your sewing needle through the piece of crochet, out of a stitch the opposite side.


Step 7:
Finish off by trimming the end of the yarn.

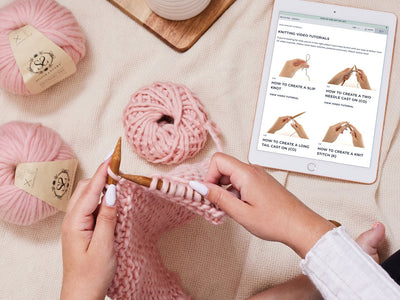
< See all Crochet Video Tutorials

How to Create a Slip Knot
Techniques | 1 min read time
How to Create a Foundation Chain
Get Started | 1 min read time
How to Count Chains
Get Started | 1 min read time
How to Single Crochet (US terminology)
Stitches | 1 min read time

How to Half Double Crochet (US terminology)
Stitches | 1 min read time
How to Double Crochet (US terminology)
Stitches | 1 min read time
How to Treble Crochet (US terminology)
Stitches | 1 min read time

How to Slip Stitch (ss)
Stitches | 1 min read time
How to Decrease Using sc2tog (US terminology)
Stitches | 1 min read time