


Baby gifts, blankets and changing colors
4 min read time
Hello crafters,
Baby blankets are a timeless newborn or baby shower gift, particularly ones that are handmade. Beautiful yet practical, a hand-knit baby blanket is a gift that is cherished. There is nothing quite like gifting or receiving something that has had time and love put into creating it. Baby blankets are also wonderfully beginner friendly so even if you’re new to knitting you can still create a special hand-knit gift.
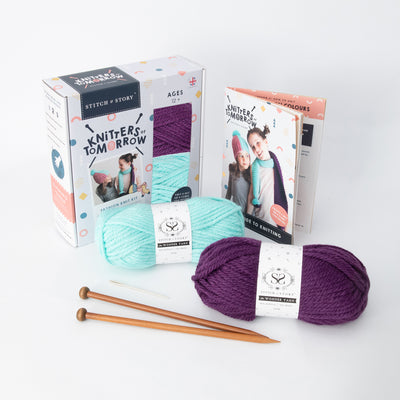
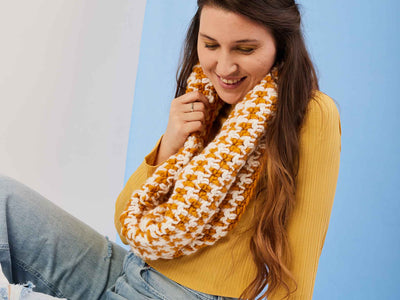
If you know the name of the baby then a personalized baby blanket, such as this square Stitch & Story one, is a lovely touch. However, often a gift is required before the name, or gender, are known (such as for a baby shower) in which case you can’t go wrong with simple striped blankets in neutral colors. The Stitch & Story Stripey Blankie is a popular choice. Using our signature super soft The Lil’ Merino, and with easy-to-follow patterns, these kits produce beautiful blankets that can be passed down through generations.
While knitting color block stripes is fun, weaving in the tail ends where you change color can be less so. The pattern for the Stripey Blankie detail the color changing method of cutting your working yarn and attaching new yarn at each block, before weaving in. Below we’ve outlined a way you can weave the different colored yarn up through your work as you knit without having to cut or reattach your yarn, or weave in lots of tail ends when you’re finished.
BEGINNER’S GUIDE - HOW TO KNIT STRIPES, ALTERNATE COLORS AND WEAVE IN YARN AS YOU GO

1. After you’ve completed the required rows in your first color (Color A) simply pick up the strand from your next ball of yarn (Color B) and, leaving about a 10cm tail end, begin knitting your next row. You do not need to knot or attach the new yarn to the old. Don’t worry if the first couple of stitches seem loose; you will weave in the tail end when you have finished knitting which will tighten and secure these stitches.

2. Knit two rows in Color B, bringing you back to the edge where Color A is still attached. Before starting your third row lift Color A’s yarn strand in front of and over Color B’s yarn strand.

3. Begin knitting your third row in Color B. You will notice that Color A’s yarn strand has been lifted up two rows along the edge of your work.

4. Knit another two rows (row three and four). Again lift Color A’s yarn strand in front of and over Color B’s yarn strand, before starting your next (fifth) row.

5. Continue in this way, lifting the yarn every two rows, until you have completed the required number of rows in Color B.
TIP - Avoid pulling tightly on the yarn strands you are lifting up and weaving along the edge of your work otherwise your edge will pucker and be uneven. Make sure there is enough give along the edge of the previous color block before you start the first row of your next.

6. In the same way that you added a second color, simply pick up the strand from your next ball of yarn (Color C) and, leaving about a 10cm tail end, begin knitting your next row.

7. Knit two rows in Color C, bringing you back to the edge where both Color A and Color B are still attached. This time, before starting your third row, lift both Color A’s and Color B’s yarn strands in front of and over Color C’s yarn strand.

8. Begin knitting your third row in Color C. You will notice that both Color A’s and Color B’s yarn strands have been lifted up two rows along the edge of your work.

9. Continue in this way, lifting the yarn every two rows, until you have completed the required number of rows in Color C.

10. When you are ready to change colors again, all three yarn strands will be available to you at the correct side of your work. Just remember to lift the strands for the two colors you are not knitting with in front of and over your working yarn every second row.

11. When you have finished, and cast off, cut all your yarn strands leaving approximately 10cm and weave these ends (and those from when you first added a new color) back into your work. You can read our blog on weaving in ends here.

finished edge with ends weaved in
You can use the above method to add and alternate between multiple colors (not just three) and experiment with how frequently you change colors - opting for thinner or thicker stripes.
TIP - This method of ‘carrying the yarn along the edge’ of your work only applies to patterns where there is an even row repeat, i.e. the color changes every 2, 4, 6, etc. rows. This method does not work for knitting patterns that change color every row or after an odd number of rows, where yarn will need to be joined on both sides of the work.
The images above relate to the Stripey Blankie whose colors are alternated evenly across the blanket.
While this method of changing yarns doesn’t entirely do away with weaving in at the end, it does significantly reduce the amount of ends you’re left with to weave in - particularly if you’re working with multiple colors or are changing color frequently in a pattern. As well as saving time you’re left with neat edges, which is preferable when making a blanket where there are no seams to hide knots or tail ends. For tips on how to weave in ends you can read our blog post here.
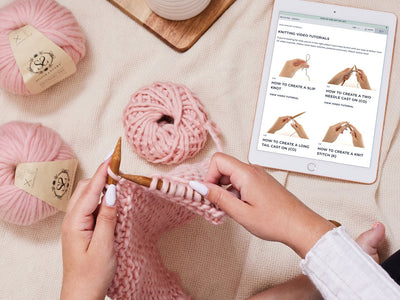
Stripes and color blocking in a blanket are a great way to make a project more fun to knit and look really impressive despite being very easy to do. If you’d love to knit a baby blanket but are completely new to knitting, the Stitch & Story baby blankets are beginner level kits and super easy to make. The kits come with everything you need to get started, including a How to KNIT basic guide, and as always if you get stuck you can reach out to our very helpful customer services team. All you’ve got to decide is which lucky baby is getting your hand-knit blanket.
Happy crafting!

Handmadebyhafsa - A Story Maker
2 min read time
Craftyparenttools - A Story Maker
2 min read time
Top 5 Granny Square Tips & Tricks
1 min read time
How do I start?
1 min read time
Setting your 2024 Crafting Intentions
3 min read time