


Personalised Hat: How To Do Slipknot Chains
1 min read time
Hello knitters,
Personalisation is a great way to make your hand-knit item even more special. Our adorable Personalised Mini Hat Knitting Kit is one of our most popular kits for a reason. A real keepsake item it makes the loveliest gift, either as a finished knit or knitting kit.
Below we've outlined a slipknot chain technique, which doesn't require any needles/hooks to create, that is part of our Personalised Mini Hat pattern. Suitable for personalising most of our kits, you just need to channel your inner creative!
Beginner's guide - How to personalise with slipknot chains
Sketch Out Name
On a piece of paper, sketch out the name using our alphabet chart as a guide.
Tip: For an easier option, why not have the name in all capital case? (Note: this requires making different sized slipknot chains)
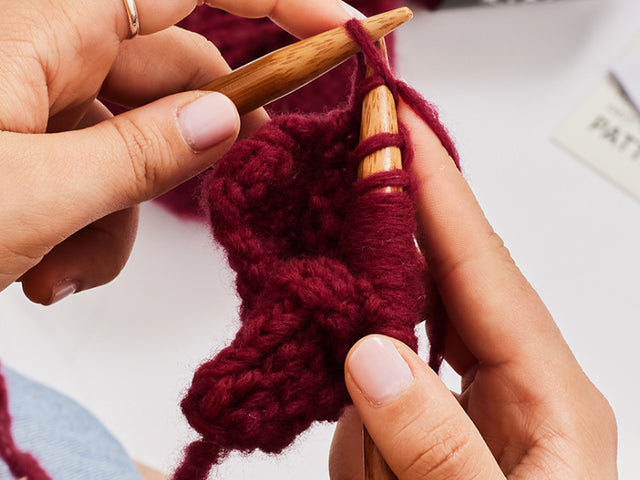
Create Slipknot Chain
Step 1
Make a slipknot.


Step 2
Slipknot chains.

- Use your thumb and index finger to hold the tail end (1) firmly.
- Use your other 3 fingers to hold both (1) and (2).


- Hold (1) and (2) firmly in your left hand so it doesn’t go loose.


- Don't forget you may need to double back on some letters.
Tip: If your loop ends up being super huge after each slipknot, just readjust by pulling (2).
Step 3
Finishing.

Pin & Sew
Use your initial sketch as a guide.


For more help check out our Tutorials. Happy knitting!
Don’t forget to share your story #stitchandstory #yarnmazing

Handmadebyhafsa - A Story Maker
2 min read time
Craftyparenttools - A Story Maker
2 min read time
Top 5 Granny Square Tips & Tricks
1 min read time
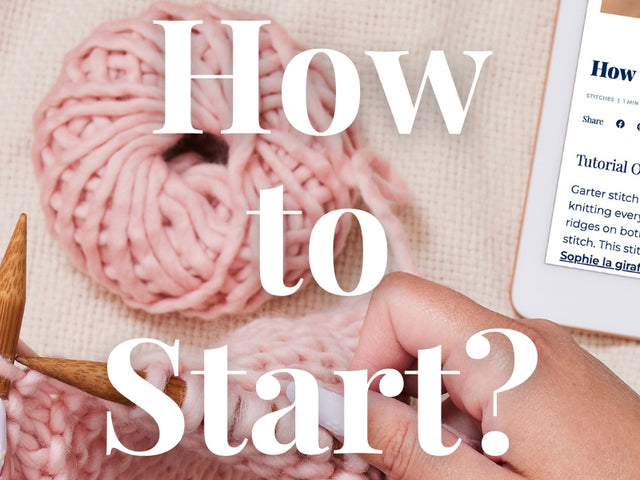
How do I start?
1 min read time
Setting your 2024 Crafting Intentions
3 min read time