


Getting To Grips With Knitting Cables
3 min read time
Hello crafters,
A quick Google image search of ‘cable knitting’ will display a vast array of cable stitch patterns and designs that would overwhelm any beginner knitter. Cabling looks complicated but the basic technique of crossing one group of stitches over another is actually very easy to do; and once you’ve learnt how to cross stitches using a cable needle you’ll be able to use the same technique for any cabling pattern, regardless of difficulty level.
BEGINNER’S GUIDE - HOW TO CABLE (FRONT AND BACK)
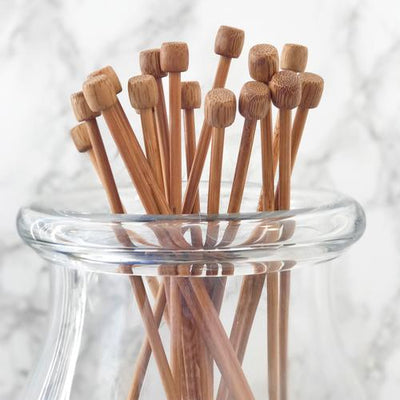
Tools
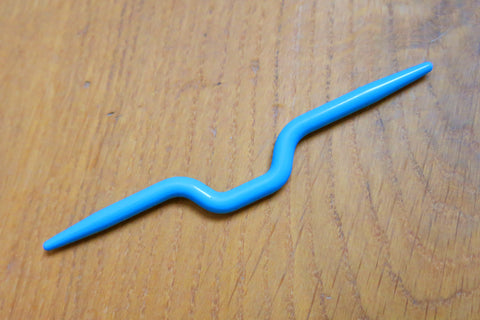
Cabling requires the addition of a third needle, the cable needle, to your knitting. These are needles that have two pointed ends and come in various designs. The cable needle you’ll get in a Stitch & Story knitting kit has a bend in the middle, which helps to prevent stitches from sliding off it, but cable needles can also be straight or ‘u’ shaped.
Basic technique
Knitting stitches out of order by crossing one group of stitches over another creates a cable. To do this you slip a number of unworked stitches from your left-hand (LH) needle onto a cable needle and hold that needle (and stitches) to the front or back of your work while you knit the same number of stitches from your LH needle. Then you knit the stitches from the cable needle followed by the rest of the stitches on your LH needle. This same technique applies whether you’re making simple or complex cables.
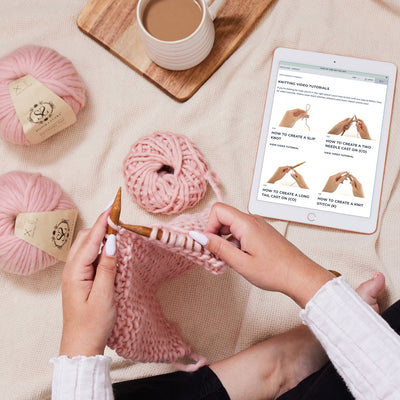
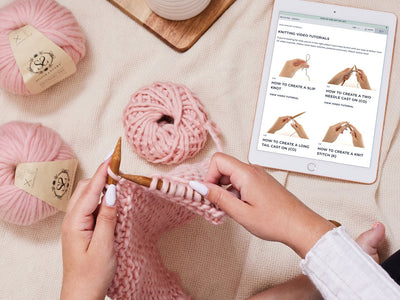
You can see this technique in action in our How To Cable Stitch tutorial video that demonstrates cb6.
Cable front (cf) and cable back (cb)
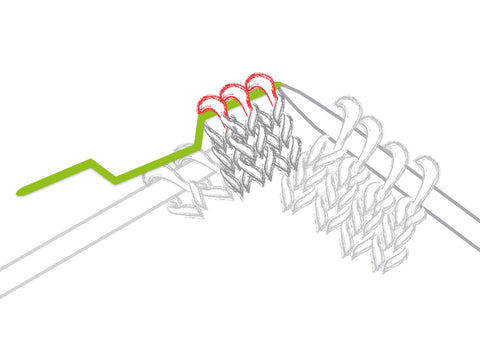
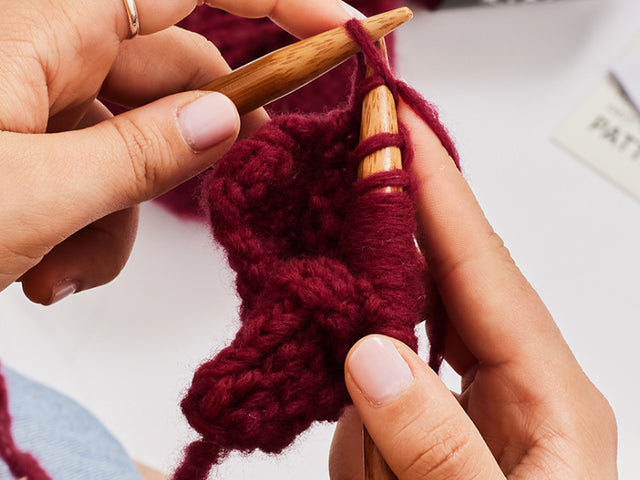
When you transfer stitches onto a cable needle, you will either hold that needle to the front or back of your work while you knit the stitches from your left-hand (LH) needle. In the pattern this will be written as either cf (cable front) or cb (cable back).

cable needle at the front of work
The difference between cf and cb
As a cable is one group of stitches crossed over another, holding the cable needle to the front or back of your work dictates which group crosses over on top. Visually, holding your cable needle and slipped stitches to the front of your work, while knitting from the LH needle, will make the cable look like it’s twisting to the left. Holding your cable needle and slipped stitches to the back of your work will make your cable look like it’s twisting to the right.
Abbreviations - how to read a cable stitch in patterns (e.g. cb4)
A cable stitch is created over an even number of stitches, half of which are transferred onto your cable needle and crossed over/under the other half. In a Stitch & Story pattern a cable stitch is written as c, followed by either f or b (indicating whether your cable needle needs to be held at the front or back of your work) and a number. The number refers to the amount of stitches in the whole cable, not the amount you transfer onto your cable needle. To know how many stitches to transfer onto your cable needle you must split this number in half.
E.g. cb4 translates to cable back four (a four-stitch right-twisting cable). This means you will slip two stitches onto a cable needle, hold these at the back of your work, knit two stitches from your left-hand needle and then knit the two stitches from the cable needle. In total you will have knit four stitches.
TIP: Make sure you read the abbreviations section of your pattern before you start. This is where the particular cable stitch required in the pattern you’re reading will be explained.

Standard Cable (Rope Cable)
The simplest cable pattern is the standard or rope cable, which is a basic cable that looks like twisted rope. If you’re new to cabling this is the easiest design to master the cable technique with. Stitches are generally crossed up a single column. Thankfully when you knit cables you don’t cross stitches on every row. The row that contains your cable stitches is the turning row, after which you work several plain rows before working another turning row. You can see this and the standard cable in Stitch & Story’s Big Alps Beanie and Cable Coo Hat patterns.
How to cf6 - as seen in the Chunky Cable Headband pattern


How to cb4 - as seen in the Cable Coo Hat pattern.


Like all new knitting techniques learning to cable takes time and practice. However, like most knitting basics, once you’ve got to grips with using a cable needle you can progress to making all kinds of beautiful and intricate cable patterns.
Happy crafting!

Handmadebyhafsa - A Story Maker
2 min read time
Craftyparenttools - A Story Maker
2 min read time
Top 5 Granny Square Tips & Tricks
1 min read time
How do I start?
1 min read time
Setting your 2024 Crafting Intentions
3 min read time