


How to Create a Cable Stitch
Stitches | 1 min read time
Tutorial Overview
Cable stitch is a textured, crossing layers stitch pattern and is created by slipping a specified number of stitches onto a cable needle, knitting the same amount of stitches and then knitting the stitches on the cable needle before finishing the row. The cable needle can be placed either to the front (cf) or back (cb) of your work depending on the pattern. In this video we will show you how to create cable stitch by demonstrating cable back 6 (cb6). This stitch is used in the Chunky Cable Headband Knitting Kit, while cable back 4 (cb4) and cable front 4 (cf4) are used in the Cabin Cable Throw Knitting Pattern.
Watch
Step-by-step guide
Step 1:
Ensure you have knitted your foundation which requires two purl columns and one knitted column in the middle.
Step 2:
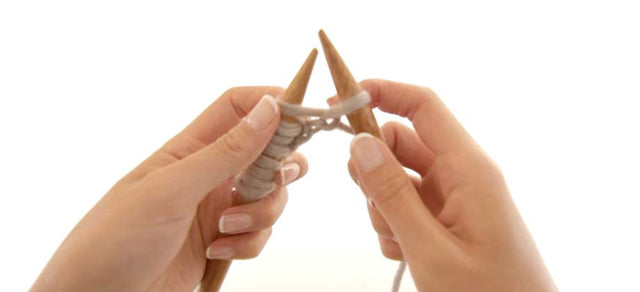
Continue working until you need to cable.
Step 3:
Get your cable needle and transfer three stiches over.
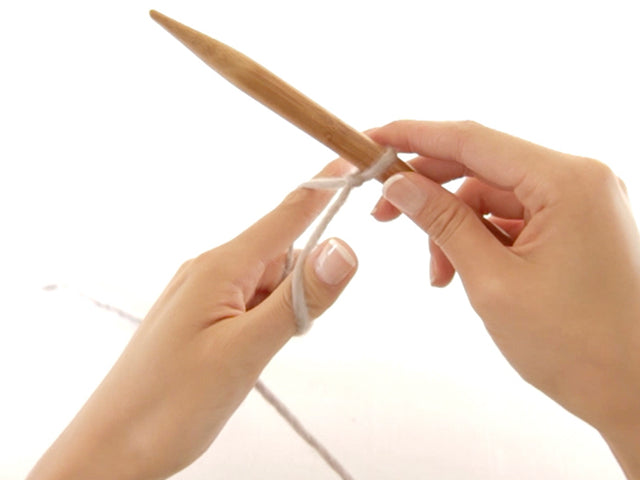
Step 4:
Place the cable needle at the back of your work, out of the way of your needles.
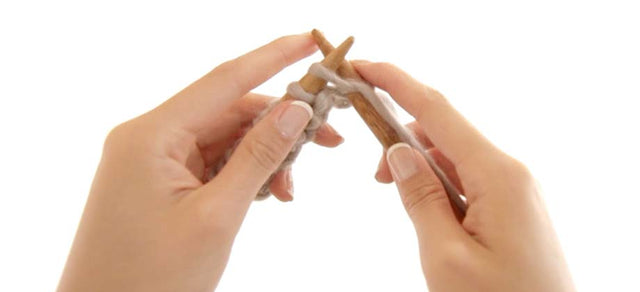
Step 5:
Knit three stitches.
Step 6:
Bring your needle forward making sure it's not twisted.
Step 7:
Knit the three stitches from the cable needle.
Step 8:
Continue to Purl the rest of the work
Step 9:
As you continue your pattern you'll see the cable stitch appearing.
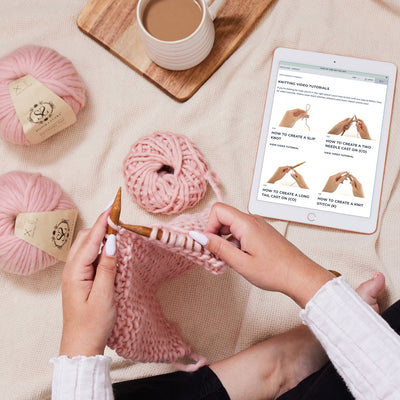
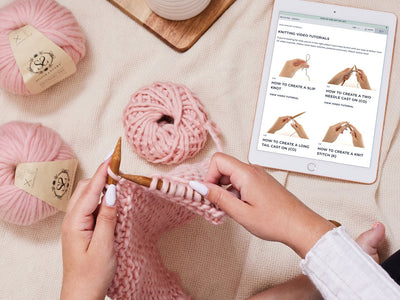
< See all Knitting Video Tutorials

How to Create a Slip Knot
Get Started | 1 min read time
How to Create a Two Needle Cast On (co)
Get Started | 1 min read time
How to Create a Long Tail Cast On (co)
Get Started | 1 min read time
How to Create a Knit Stitch (k)
Get Started | 1 min read time
How to Create a Purl Stitch (p)
Get Started | 1 min read time
How to Create Garter Stitch
Stitches | 1 min read time

How to Create Stocking Stitch
Stitches | 1 min read time
How to Cast Off / Bind Off (bo)
Finish Off | 1 min read time
How to Weave in Loose Ends
Finish Off | 1 min read time