


How to Sew a Back Stitch
Stitches | 1 min read time
Tutorial Overview
In this video we'll demonstrate how to sew a back stitch.
Watch
Step-by-step guide
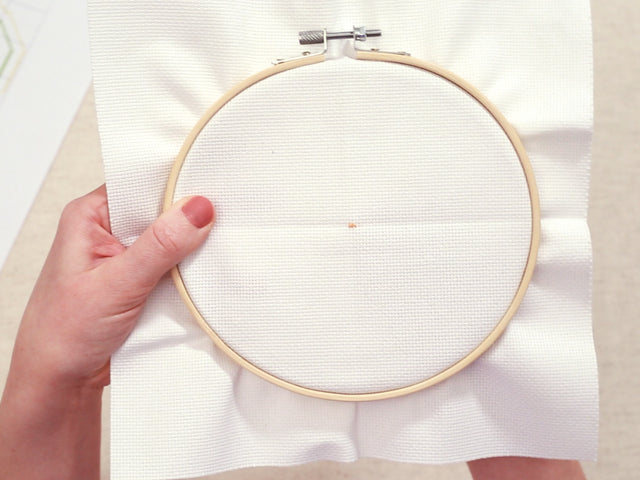
Step 1:
Using your pattern grid for guidance locate the starting point for your next stitch.

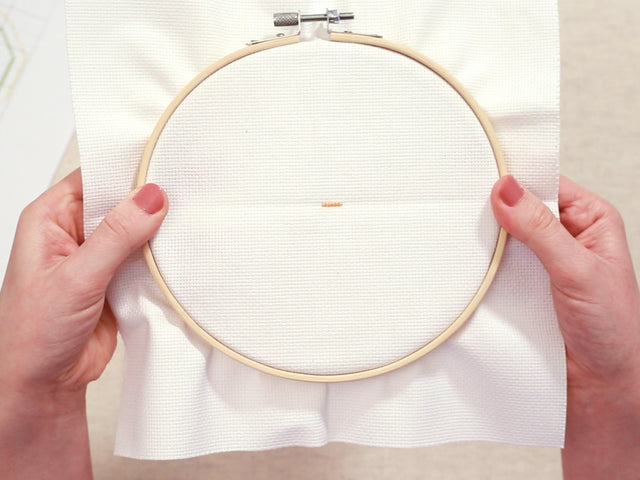
Step 2:
Bring your threaded needle up from the reverse of the Aida, one stitch before the starting point. Then down and out through the back of the Aida, creating the first back stitch shown on your pattern grid.

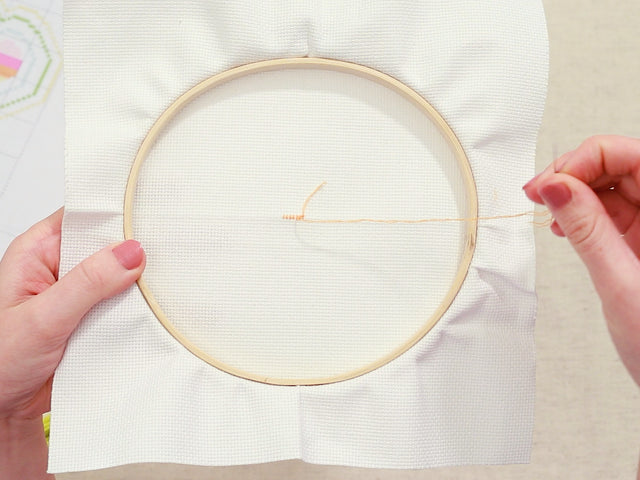
Step 3:
Next you'll come out the front again one stitch ahead, following the direction of the stitches in your pattern.
There'll be a gap between the two holes worked.

Step 4:
Now thread your needle back down through the hole of the previous stitch to close the gap.
Each stitch is worked by making one step forward, then one step back.

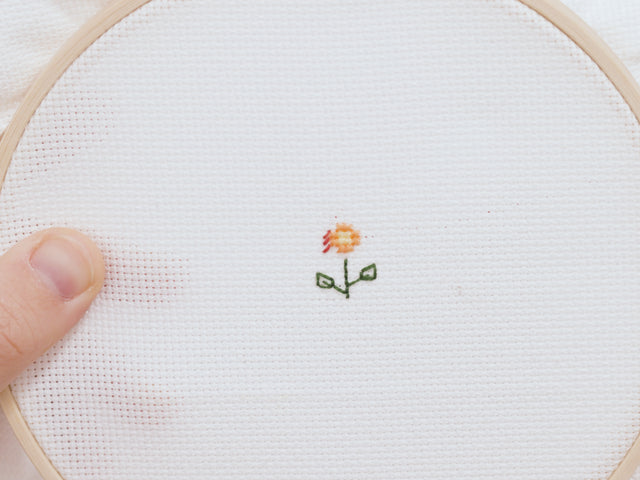
Step 5:
You have now completed a row of back stitches.

< See all Cross Stitch Video Tutorials
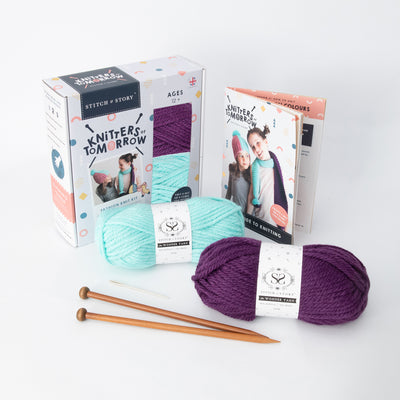
What you'll need
Get Started | 1 min read time
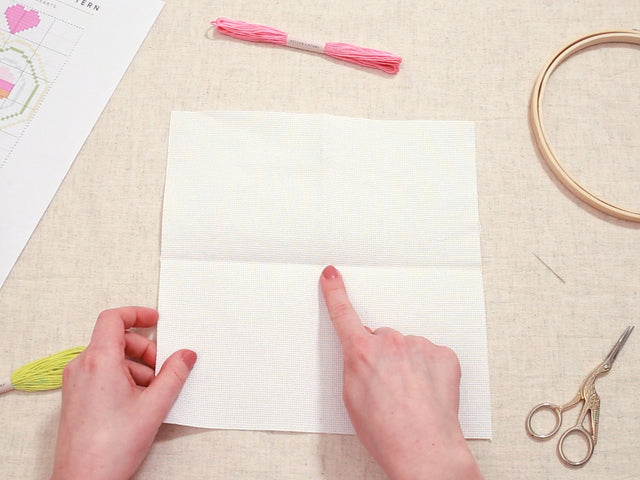
Introduction to the Aida Fabric
Get Started | 1 min read time
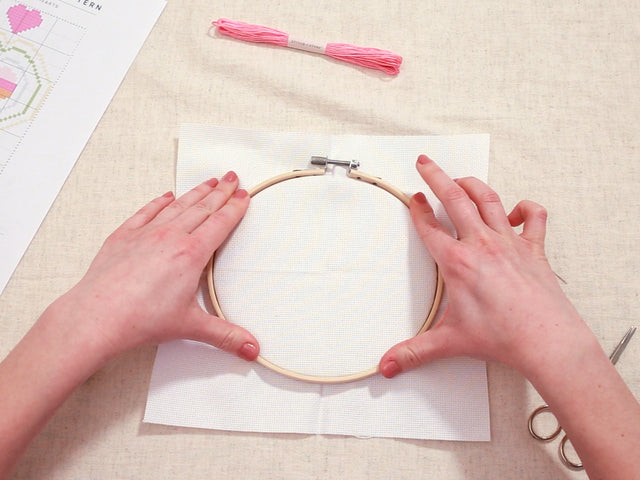
How to Set Up the Hoop
Get Started | 1 min read time
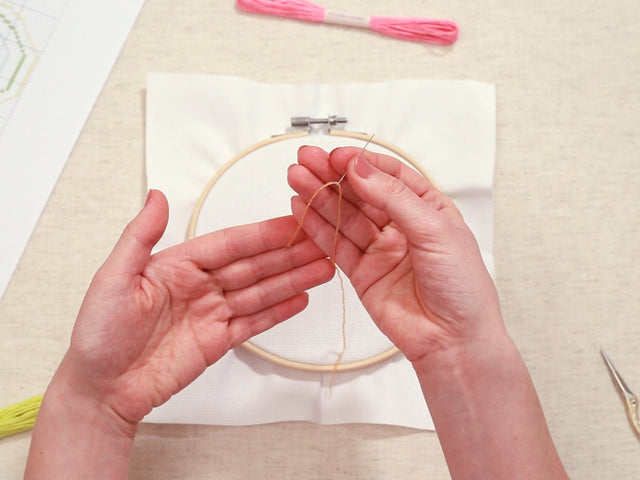
How to Cut the Thread
Get Started | 1 min read time
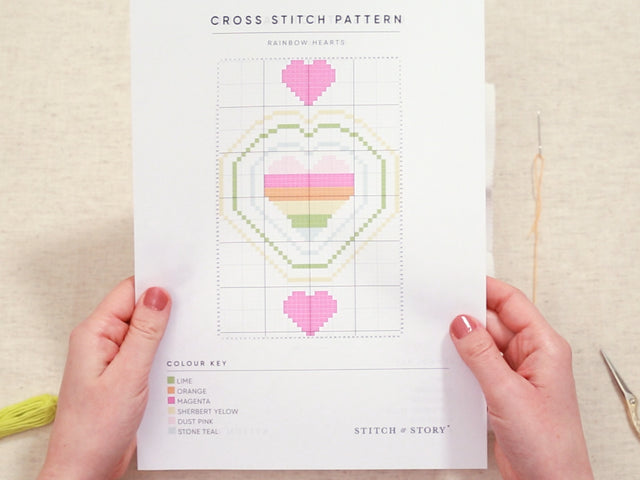
How to Read the Pattern
Techniques | 1 min read time
How to Create a Single Square Stitch
Stitches | 1 min read time
How to Complete a Row of Stitches
Stitches | 1 min read time
How to Finish a Row
Stitches | 1 min read time
How to Sew a Half Stitch
Stitches | 1 min read time