


How to Create Crossed Cables (C2L and C2R)
Stitches | 1 min read time
Tutorial Overview
C2L and C2R are cabling stitches, very similar to cable back (CB) and cable front (CF) stitches. You won't need a cable needle to work C2L and C2R, as you will only cross one stitch either in front, or behind the other stitch.
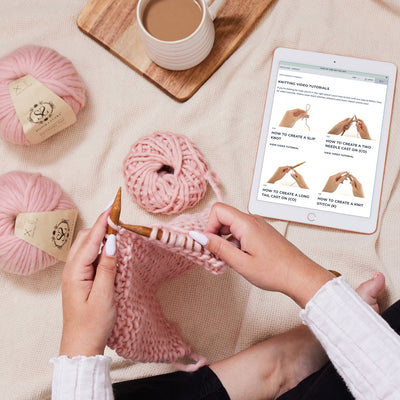
Watch
Step-by-step guide
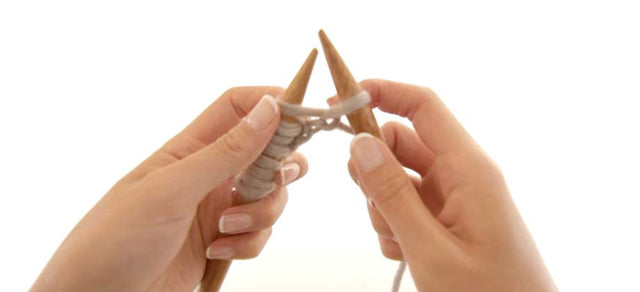
First, let's look at C2L:
C2L is a left-leaning cable stitch.
Step 1:
Insert the right-hand needle into the back of the second stitch from the left needle tip, and knit the stitch.
Step 2:
Without slipping the stitch off your needles, insert the right-hand needle into the back of the first stitch from the left needle tip.
Knit this stitch.
Step 3:
Finally, slip both worked knit stitches off your left-hand needle, and you will have created a left-leaning cable.
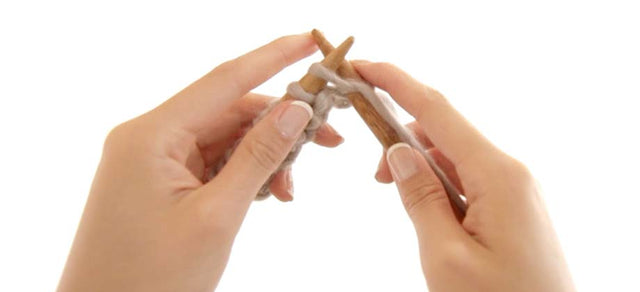
Next, let's look at C2R:
C2R is a right-leaning cable stitch.
Step 1:
This time, you'll move your right-hand needle to the front of your work while keeping your working yarn at the back.
Insert your needle into the front leg of the second stitch from the left-hand needle tip, and bring it out the back between the 2 stitches.
Knit this stitch.
Step 2:
Without slipping the stitch off your needles, insert the right needle into the front leg of the first stitch from the left needle tip.
Knit this stitch.
Step 3:
Finally, slip both worked knit stitches off your left-hand needle, and you will have created a right-leaning cable stitch.
You can now knit right, and left-leaning crossed cables!
< See all Knitting Video Tutorials

How to Create a Slip Knot
Get Started | 1 min read time
How to Create a Two Needle Cast On (co)
Get Started | 1 min read time
How to Create a Long Tail Cast On (co)
Get Started | 1 min read time
How to Create a Knit Stitch (k)
Get Started | 1 min read time

How to Create a Purl Stitch (p)
Get Started | 1 min read time
How to Create Garter Stitch
Stitches | 1 min read time

How to Create Stocking Stitch
Stitches | 1 min read time
How to Cast Off / Bind Off (bo)
Finish Off | 1 min read time
How to Weave in Loose Ends
Finish Off | 1 min read time