


How to Embroider Your Crochet - Left Handed
Left-Handed | 1 min read time
Tutorial Overview
In this tutorial, we'll show you how to embroider a face onto your piece of crochet. Your pattern will tell you where your embroidery should be placed by counting the rounds and stitches, and indicates the types of sewing stitches you should use.
Watch
Step-by-step guide
Step 1:
Start by threading a sewing needle with your contrast yarn.
Step 2:
Once you've identified the starting point, insert your needle under and out of the stitch, carefully pulling the yarn so the tail sits on the wrong side of the crochet.
Step 3:
Sew in the same place again to secure the thread. You may have to repeat the same stitch 2 or 3 times to give the features a more defined outline.
Step 4:
Your pattern will let you know the height and width that your embroidery should cover.
Top Tip: Be careful not to pull the thread too tightly, and ensure you sew in the gaps between your stitches to keep things looking neat.
Step 5:
To embroider the next area of your piece, complete your last stitch by bringing the needle up through the starting point of the next area.
Step 6:
Repeat this technique for each area that uses the same color.
Step 7:
To finish sewing, carefully push the needle through and out of the back of your crochet piece.
Step 8:
Cut your yarn close to your crochet project, then gently squeeze and move the fabric so the yarn tail sits inside.
You can now embroider your crochet!
< See all Crochet Video Tutorials

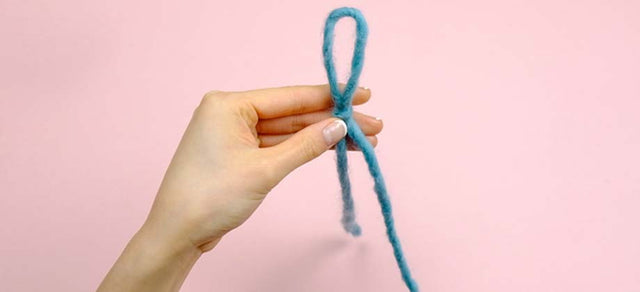
How to Create a Slip Knot
Techniques | 1 min read time
How to Create a Foundation Chain
Get Started | 1 min read time
How to Count Chains
Get Started | 1 min read time
How to Single Crochet (US terminology)
Stitches | 1 min read time

How to Half Double Crochet (US terminology)
Stitches | 1 min read time
How to Double Crochet (US terminology)
Stitches | 1 min read time
How to Treble Crochet (US terminology)
Stitches | 1 min read time
How to Slip Stitch (ss)
Stitches | 1 min read time
How to Decrease Using sc2tog (US terminology)
Stitches | 1 min read time