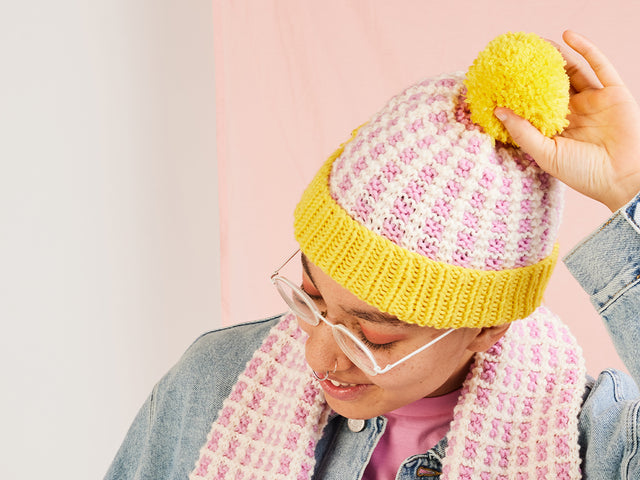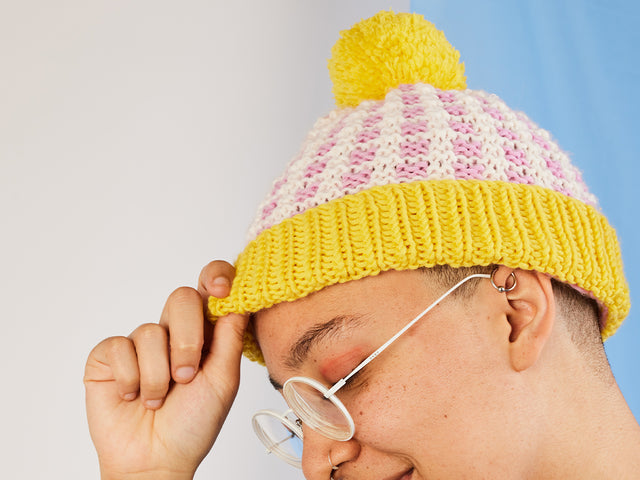
The Arkel Grid Beanie KAL: Part 1
Knitting | 1 min read time
Let’s get started! This week we’ll go through the things you’ll need, and how to knit the brim.
Getting started
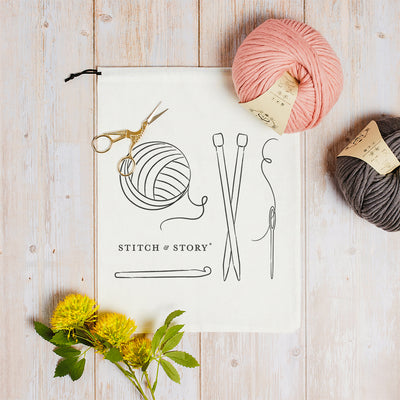
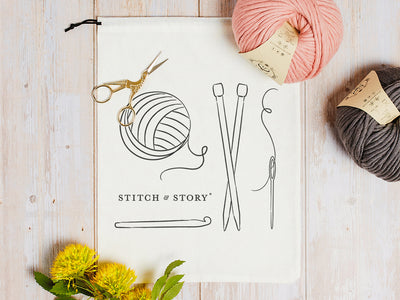
First things first! Make sure you have everything you need to knit your beanie:
- The Arkel Grid Beanie PDF knitting pattern
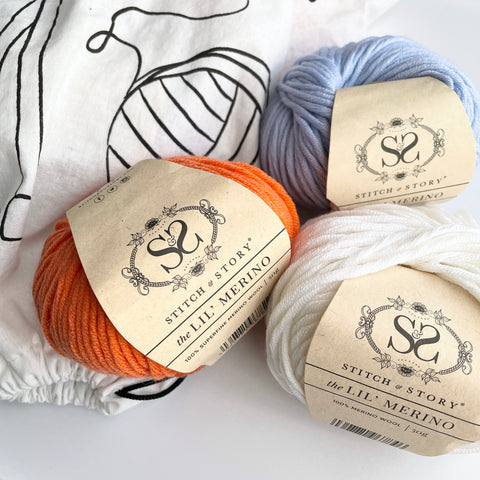
- 3 balls of Lil’ Merino yarn (1 each for colors A, B, and C)
- 6mm knitting needles
- A sewing needle
Need a little yarnspiration? Take a look at a few color combinations we’ve put together to get you started!
For our hat we’ll be using Dutch Orange (Color A), Bright White (Color B), and Baby Blue (Color C).
Knit a swatch
It’s important to knit a gauge swatch before you begin, to check that your tension, needles, and yarn produce the same size as this pattern. For accuracy, cast on 30 stitches and work in slip stitch for 40 rows using your 6mm needles. When finished, make sure that the fabric is relaxed and lying flat, then measure a 10 cm x 10 cm square within this gauge swatch and you should have 20 stitches and 34 rows.
If your tension is too tight (more stitches and/or rows) we recommend using slightly bigger needles. If your tension is too loose (fewer stitches and/or rows) we recommend using slightly smaller needles.
Once you’re happy with your tension, you can unravel the swatch and use the yarn as part of your project.
How to knit the brim
Cast On
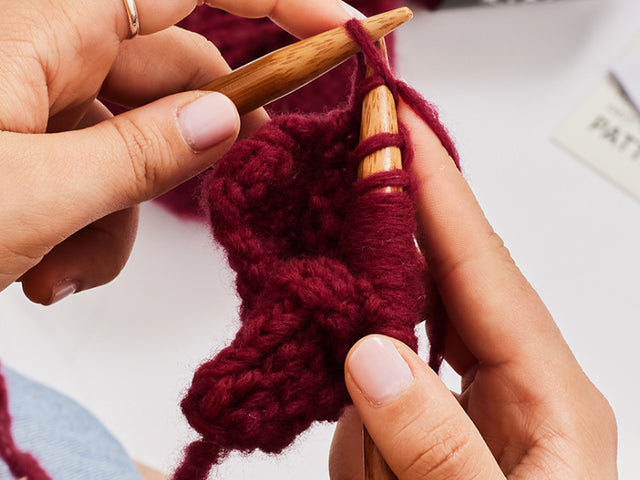
Using Color A, start by casting on the number of stitches given in the pattern. We’d recommend using the Long Tail Cast On method to give the brim a slightly stretchier edge, but the Two Needle Cast On is also fine!
Rib Stitch
Next, you’ll work in a knit one, purl one, Rib Stitch pattern. Make sure you start every row with a knit stitch to ensure your ribbing is correct! Work in this pattern for the number of rows given in the pattern.
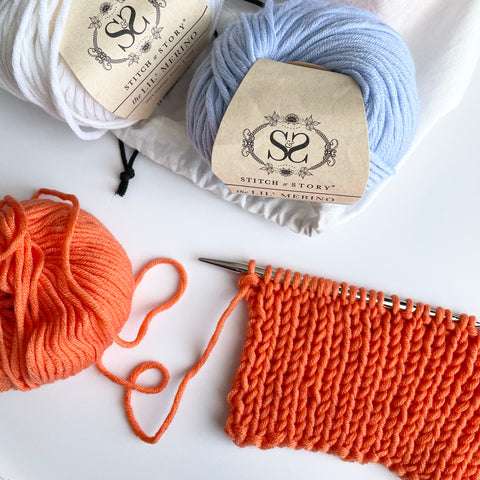
And there you have it! In Part 2 we'll show you how to knit the slip stitch pattern using Color B and Color C.
Share your pattern progress with a community of crafters on Instagram and Facebook.

