


How to Knit Fisherman's Rib
Stitches | 1 min read time
Tutorial Overview
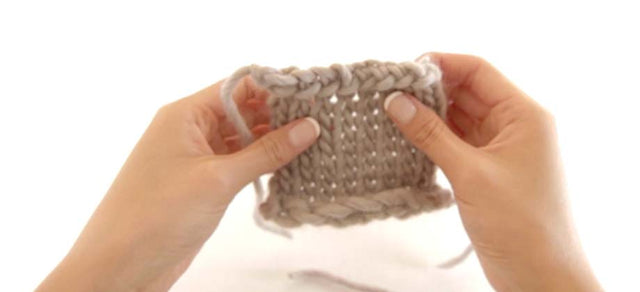
Fisherman's rib is a variation of the standard rib stitch. Using this technique, your knit stitches will be worked into the row below. The purl stitches are worked as normal.
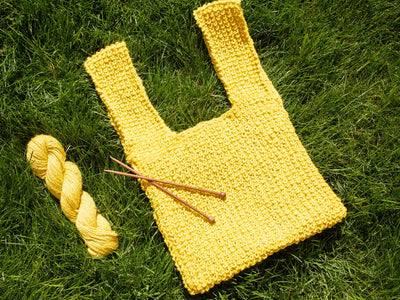
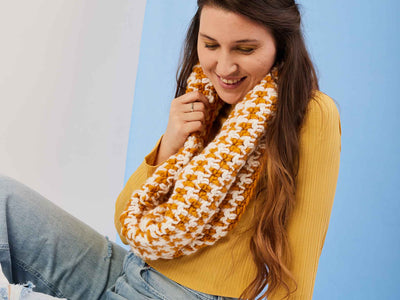
Fisherman's Rib creates a very thick, chunky piece of fabric, making it perfect for accessories and garments to wear on chilly days.
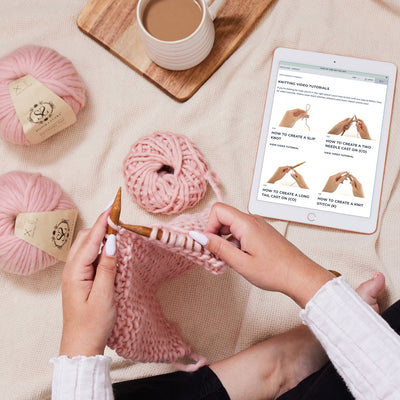
Watch
Step-by-step guide
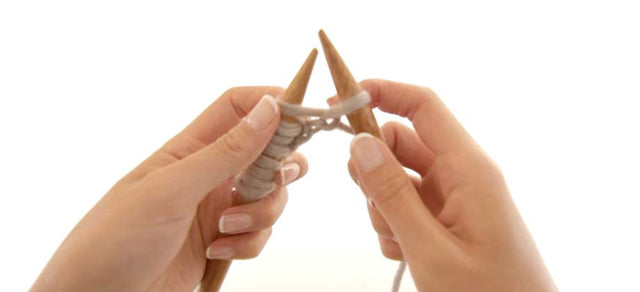
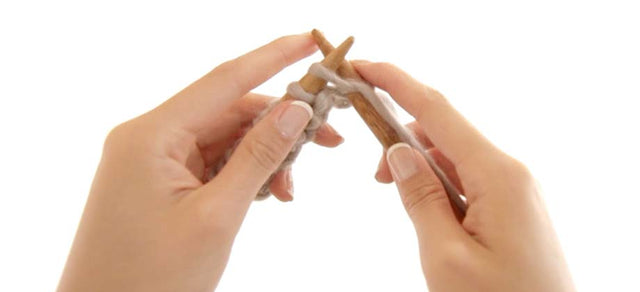
Step 1:
Work the first and last stitch of each row as normal knit stitches. This will create neat edges on both sides.
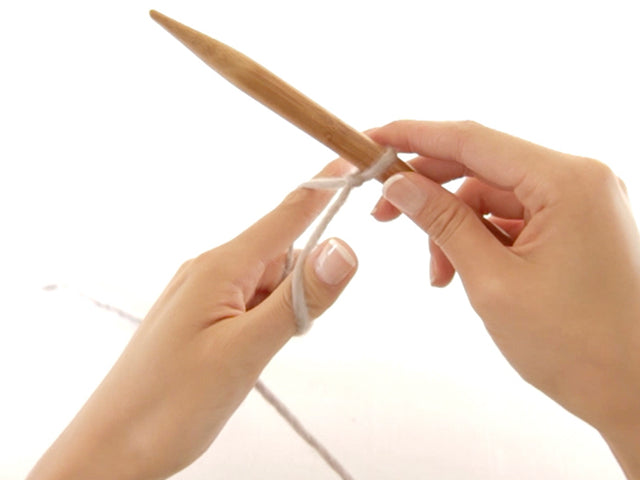
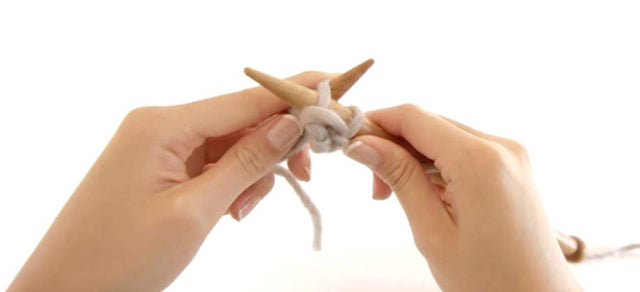
Step 2:
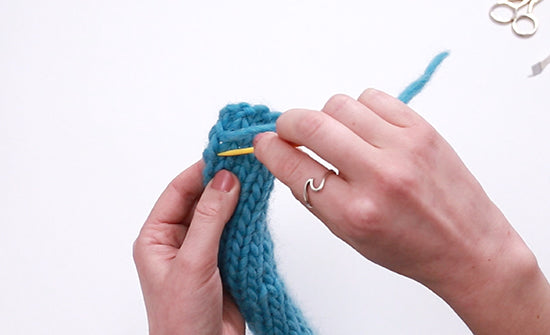
Following your pattern, you'll knit your next stitch into the row below:
- Insert your right-hand needle from front to back through the 'V' shape below the next stitch.
- At the back of your work, you'll wrap the yarn around the needle anti clockwise.
- Then bring the loop through to the front using the tip of the needle.
- You can now slide the stich off your left-hand needle.
Step 3:
Purl the next stitch.
Step 4:
- To knit the following stitch, insert your right needle into the stitch of the row below.
- Wrap the yarn around the tip of the needle, and bring it through to the front of your work.
- Slide the stitch off your left needle.
Step 5:
Purl your next stitch.
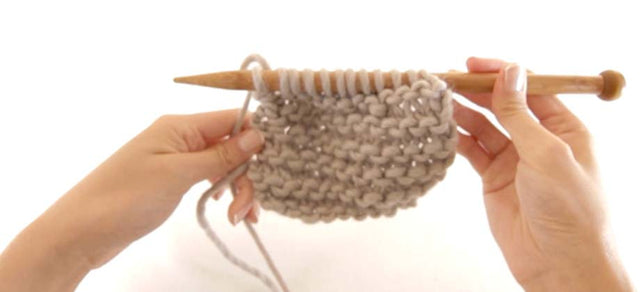
Step 6:
You'll now alternate between knit stiches into the row below, and normal purl stitches, until you reach the last stitch of the row.
Remember to bring your working yarn forwards for each purl stitch, and take it to the back for each knit stitch.
Step 7:
Knit your last stitch as normal.
Step 8:
Now, turn your work, ready to knit the next row.
Knit the first stitch as normal.
Then purl the next stitch.
Step 9:
From here, you'll work each knit stitch into the stitch of the row below again.
Then purl the following stitch.
Step 10:
Remember to knit the last stitch of the row as normal.
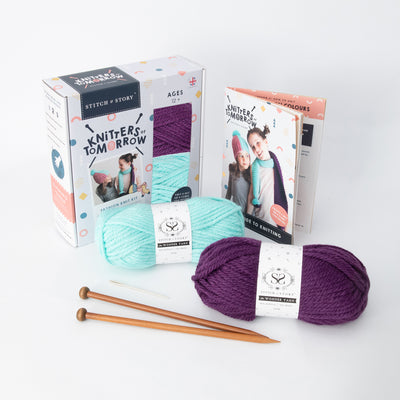
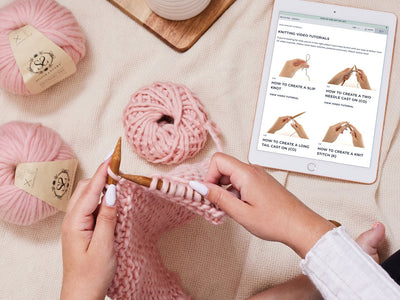
< See all Knitting Video Tutorials

How to Create a Slip Knot
Get Started | 1 min read time
How to Create a Two Needle Cast On (co)
Get Started | 1 min read time
How to Create a Long Tail Cast On (co)
Get Started | 1 min read time
How to Create a Knit Stitch (k)
Get Started | 1 min read time
How to Create a Purl Stitch (p)
Get Started | 1 min read time
How to Create Garter Stitch
Stitches | 1 min read time

How to Create Stocking Stitch
Stitches | 1 min read time
How to Cast Off / Bind Off (bo)
Finish Off | 1 min read time
How to Weave in Loose Ends
Finish Off | 1 min read time