


How to Knit the Estonian Braid
Stitches | 1 min read time
Tutorial Overview
An Estonian Braid creates a horizontal chain of 'V's and can be used to make a decorative border on the right side of your project.
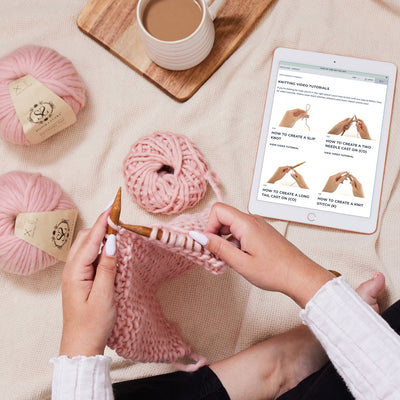
Watch
Step-by-step guide
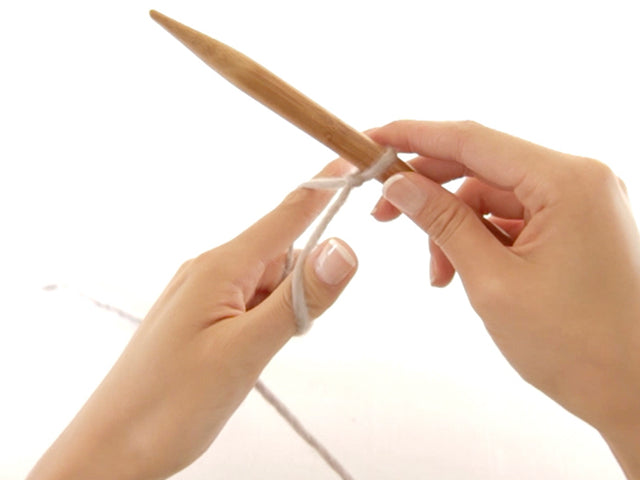
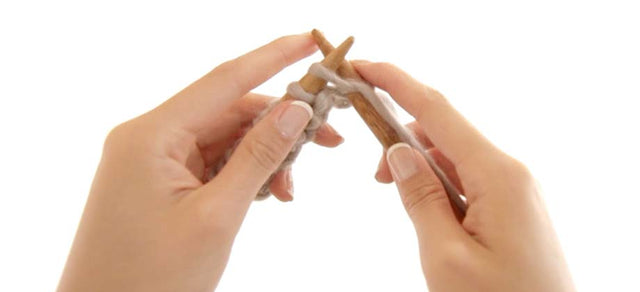
Step 1:
To start your row, insert your right-hand needle between the first and second stitch on your left-hand needle.
Step 2:
Yarn over and bring the stitch through to the front of your work.
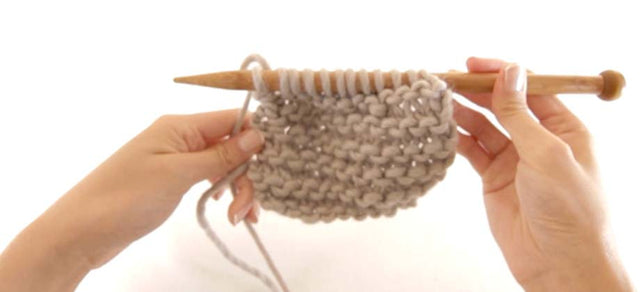
Step 3:
Twist the new stitch, and slip it onto your left-hand needle. .
Step 4:
Now, knit the second stitch (previously the first one) through the back loop. But don't drop the stitch off your needle just yet.
Step 5:
Knit the first stitch, closest to the tip of your left-hand needle, as normal. Then drop both stitches off the left-hand needle.
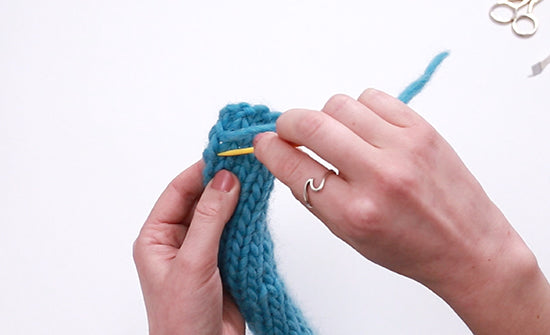
Step 6:
Slip the last newly knitted stitch from the right-hand needle to the left-hand needle.
Step 7:
Repeat these steps until only one stitch is left on your left-hand needle.
Step 8:
Instead of slipping the last newly knitted stitch onto your left-hand needle, you'll now knit the next stitch 'as normal'.
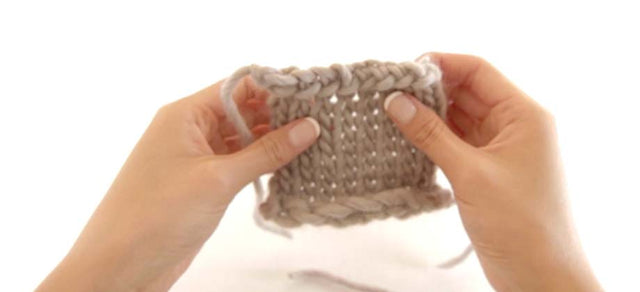
Step 9:
Once the last stitch has been knitted, slide the second last stitch over the stitch closest to your right-hand needle tip, as if to cast off. This completes your braided row.
You'll now have the same number of stitches on your knitting needle again, that you started the row with.
Step 10:
Continue knitting the next row, following your pattern.
You can now knit an Estonian Braid!
< See all Knitting Video Tutorials

How to Create a Slip Knot
Get Started | 1 min read time

How to Create a Two Needle Cast On (co)
Get Started | 1 min read time
How to Create a Long Tail Cast On (co)
Get Started | 1 min read time
How to Create a Knit Stitch (k)
Get Started | 1 min read time

How to Create a Purl Stitch (p)
Get Started | 1 min read time
How to Create Garter Stitch
Stitches | 1 min read time

How to Create Stocking Stitch
Stitches | 1 min read time
How to Cast Off / Bind Off (bo)
Finish Off | 1 min read time
How to Weave in Loose Ends
Finish Off | 1 min read time