


How to Make an I-cord
Techniques | 1 min read time
Tutorial Overview
I-cords can be worked over a different number of stitches. The number of stitches you cast on and knit in each row, will determine how chunky your finished i-cord will be.
Watch
Step-by-step guide
Step 1:
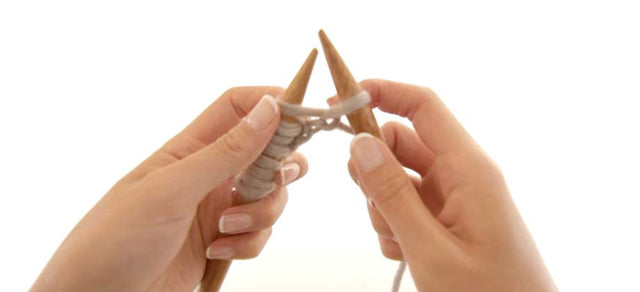
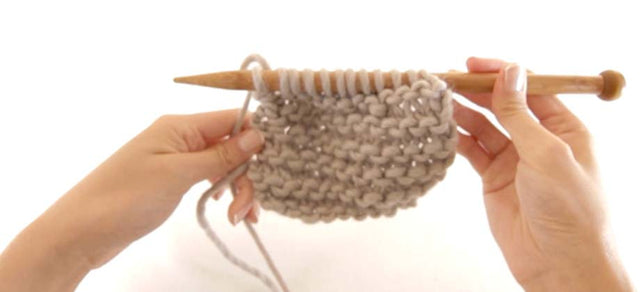
First we'll cast on 3 stitches.
Step 2:
Now knit the first row.
Step 3:
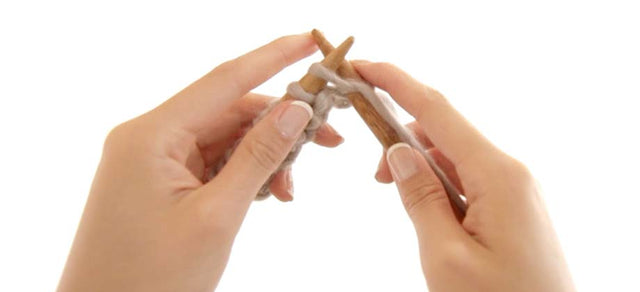
Instead of turning your work, you'll now slide all stitches back onto your second knitting needle.
Step 4:
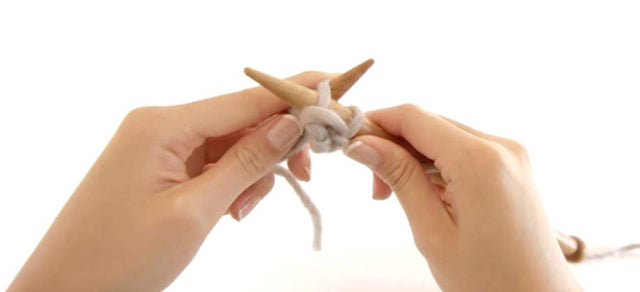
Knit the following row in the same direction.
Step 5:
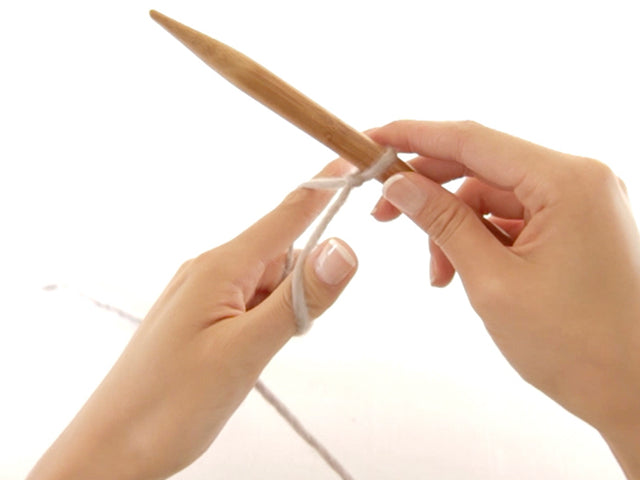
Gently pull your yarn across the back of the stitches, then knit the next row.
Step 6:
Keep the yarn taut at the beginning of each new row.
Step 7:
Every time you finish your row, slide the stitches onto the other knitting needle.
Step 8:
Gently pull the yarn tight before you work the first stitch of each row.
Step 9:
Then knit the next row.
Step 10:
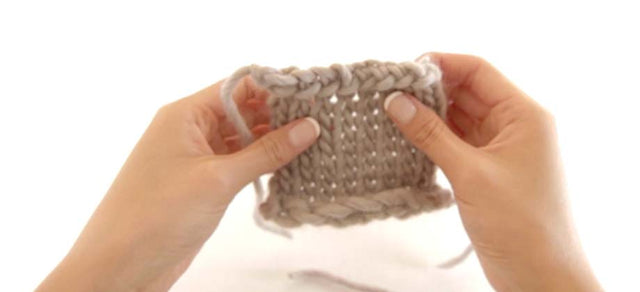
Repeat these steps until you reach your desired length.
Top Tip
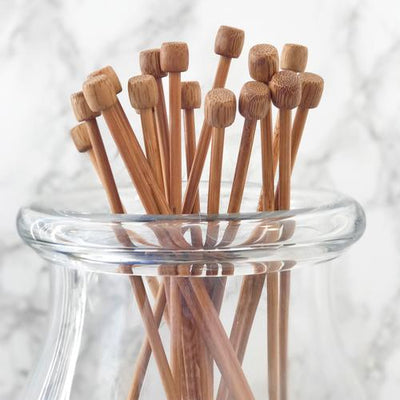
If you have double pointed needles (DPNs) at hand, you may find it easier to use these when creating an i-cord.
When using double pointed needles you can simply slide the stitches all the way to the opposite end of your needle after each row.
Step 11:
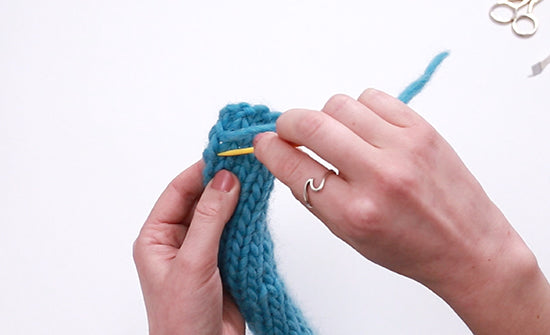
Once your i-cord has reached the required length, cut a yarn tail of around 15cm.
Step 12:
Thread your sewing needle with the tail end.
Step 13:
Slip the last 3 stitches from your knitting needle onto your sewing needle, starting from the opposite end to where the tail is attached to the stitch.
Step 14:
Once all stitches sit securely on the sewing needle, remove the knitting needle.
Step 15:
Then draw tight to fasten off your i-cord.
You can now create an i-cord!
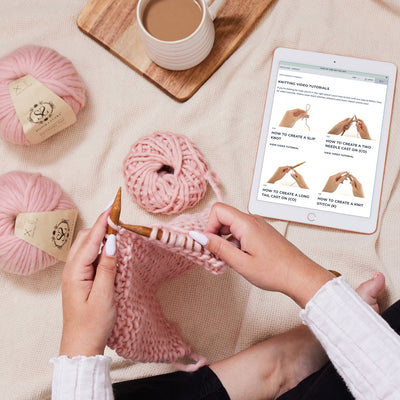
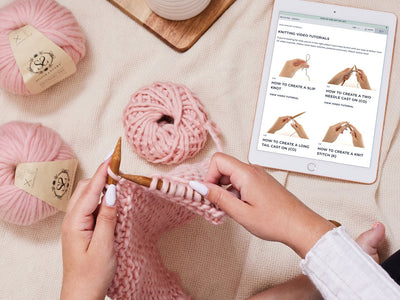
< See all Knitting Video Tutorials

How to Create a Slip Knot
Get Started | 1 min read time
How to Create a Two Needle Cast On (co)
Get Started | 1 min read time
How to Create a Long Tail Cast On (co)
Get Started | 1 min read time
How to Create a Knit Stitch (k)
Get Started | 1 min read time
How to Create a Purl Stitch (p)
Get Started | 1 min read time
How to Create Garter Stitch
Stitches | 1 min read time

How to Create Stocking Stitch
Stitches | 1 min read time
How to Cast Off / Bind Off (bo)
Finish Off | 1 min read time
How to Weave in Loose Ends
Finish Off | 1 min read time