


How to Put Stitches Back onto Your Knitting Needles
Techniques | 1 min read time
Tutorial Overview
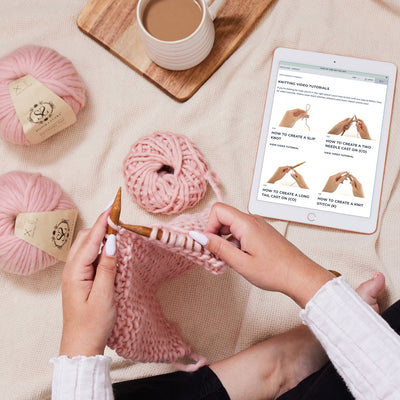
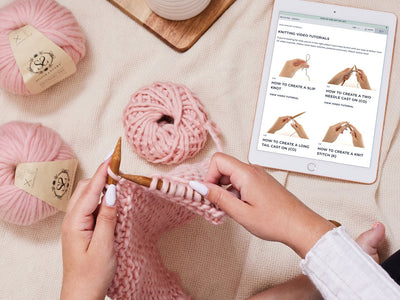
In this video we'll show you how to rescue a project that has slipped off your needles.
Watch
Step-by-step guide
Step 1:
So, you've discovered your knitting needles have slipped out of your project! Start by taking a deep breath, we're here to help!
Step 2:
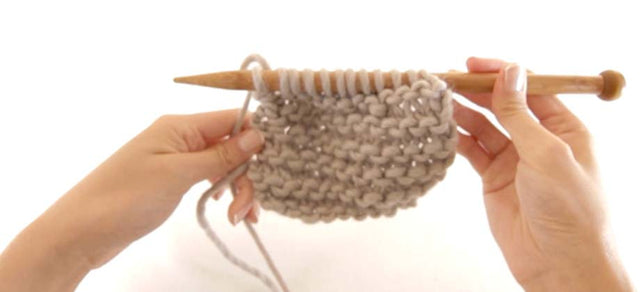
Carefully lay your knitting flat.
Step 3:
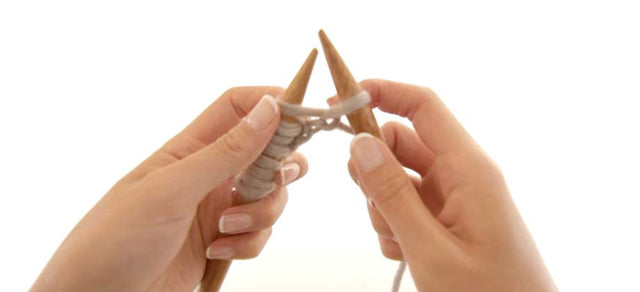
We'll now slip one stitch at a time onto our knitting needle. You can start from either end. We'll work our way from right to left.
Step 4:
Insert your needle into the first stitch, with the right leg of the stitch at the front, and the left leg of the stitch behind the needle.
Step 5:
Take your time when slipping stitch after stitch back onto the needle.
Step 6:
Keep an eye out for any dropped or twisted stitches.
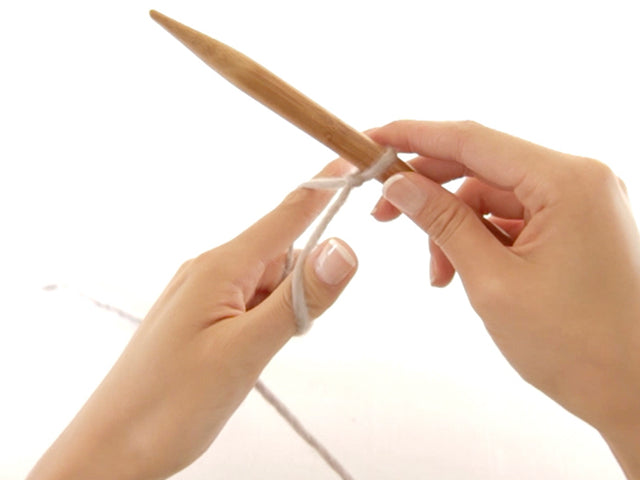
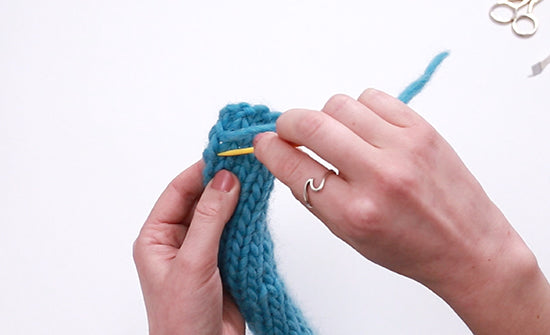
Here a stitch has dropped. And we need to pick up the stitch from the row below. To do this, you can use a sewing needle, crochet hook, or the tip of your knitting needle.
Step 7:
Bring the loose strand through the last stitch from back to front, and slip it onto your knitting needle.
Top Tip: If the dropped stitch is a purl stitch, you will bring the loose strand from the front to the back through the last stitch to create the purl bump on the front of your work.
Step 8:
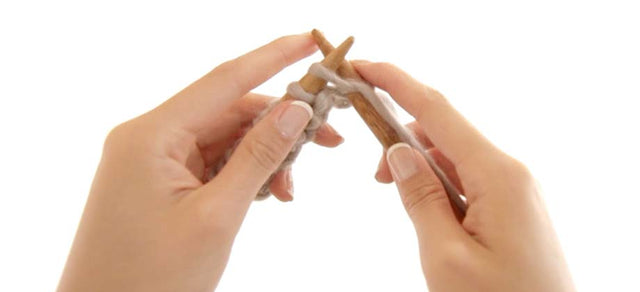
Continue to slip each stitch onto your needle until you reach the end of the row or round.
Step 9:
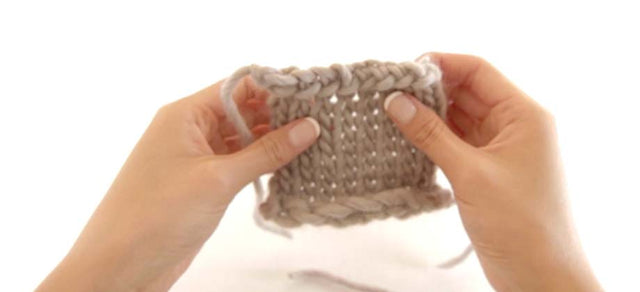
Before you continue knitting your project, it's best to check your stitch and row count, and check for any dropped or twisted stitches.
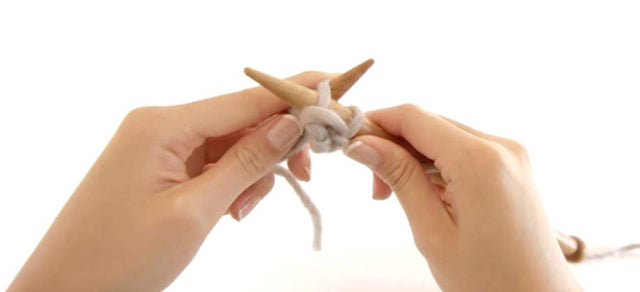
If your working yarn is positioned away from the needle tip, you can slip your stitches onto your second needle, then start knitting the next row with the working yarn in the right position.
You're now ready to continue knitting your project.
< See all Knitting Video Tutorials

How to Create a Slip Knot
Get Started | 1 min read time
How to Create a Two Needle Cast On (co)
Get Started | 1 min read time
How to Create a Long Tail Cast On (co)
Get Started | 1 min read time
How to Create a Knit Stitch (k)
Get Started | 1 min read time
How to Create a Purl Stitch (p)
Get Started | 1 min read time
How to Create Garter Stitch
Stitches | 1 min read time

How to Create Stocking Stitch
Stitches | 1 min read time
How to Cast Off / Bind Off (bo)
Finish Off | 1 min read time
How to Weave in Loose Ends
Finish Off | 1 min read time