


Knitting in the Round: Magic Loop Method
Techniques | 2 min read time
Tutorial Overview
When using circular needles to knit in the round, you may have a cord that is much longer than the number of cast on stitches. This is common when working on smaller projects such as hats, or the sleeve of a sweater. The magic loop method allows you to easily use circular needles for projects with a smaller circumference.
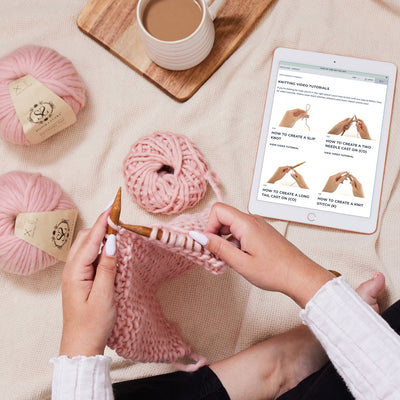
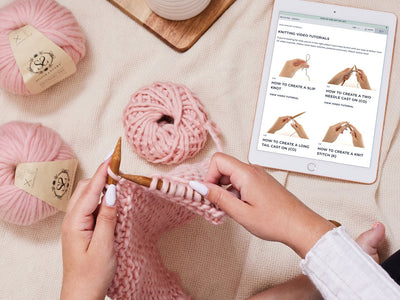
Watch
Step-by-step guide
Step 1:
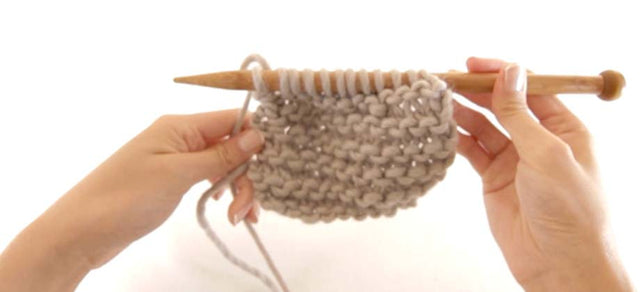
Following your pattern instructions, cast on the total amount of stitches required. For this tutorial, we've cast on 20 stitches.
Your pattern will specify whether to use the two needle cast on, or the long tail cast on. Both methods can be used when knitting in the round.
Step 2:
Slide all the stitches onto your cord.
Step 3:
Count your stitches, and pull the cord through the halfway point, making sure an equal amount of stitches sit on either side of the loop.
Step 4:
Then slide your stitches onto each needle. In our example, we now have 10 cast on stitches on each needle.
Step 5:
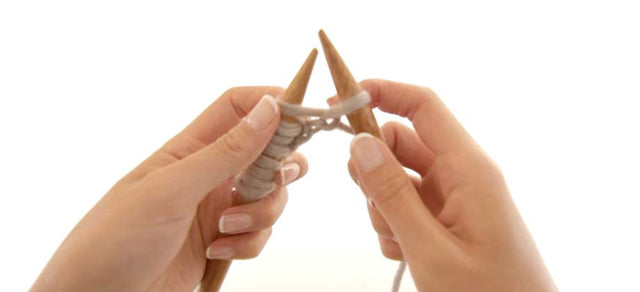
Hold your needles side by side. The needle with the working yarn, leading to the ball, should be at the back. The stitches on this needle are the 2nd half of your cast on stitches.
Step 6:
Gently pull the back needle out, so that the stitches sit on the cord.
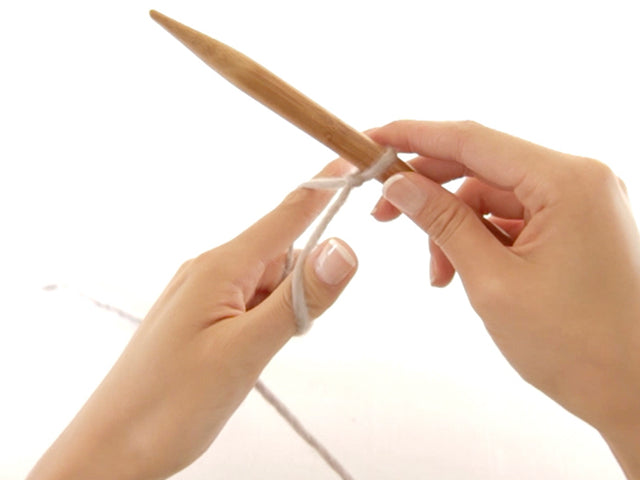
Step 7:
This back needle will now become your working needle, held in your right hand. Keep the back stitches on the cord held close to your front needle, this will help prevent the stitches stretching.
Top Tip
When joining in the round, ensure none of the stitches on your circular needles are twisted.
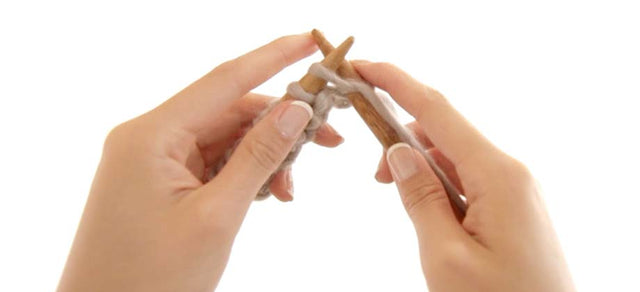
Step 8:
Keeping your yarn behind your work, insert your right needle into the first stitch on your left needle and knit as per your pattern instructions. You've now joined your stitches in a round!
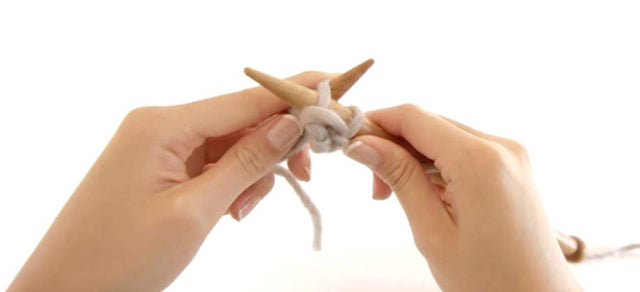
Step 9:
Knit across the 1st half of the cast on stitches as instructed in your pattern, from the left-hand needle onto the right-hand needle.
Step 10:
Once you've completed the first half of the stitches, your left needle will be 'empty'. Your right-hand needle will hold half your stitches, and the other half will be waiting on the cord.
Step 11:
Rotate the needles in your hands until the needle holding your recently completed stitches, is held at the back.
Step 12:
Then, slide the unworked stitches from the cord onto the empty needle at the front.
Step 13:
Now pull the back needle, so that the worked stitches slide onto the cord. This will now be your right-hand needle.
Step 14:
Insert your right-hand needle into the first stitch on your left needle, and work the next set of stitches.
Step 15:
Continue to repeat these steps by working the stitches in 2 halves.
Top Tip
Pull the yarn a little tighter at the first stitch of each half. This will prevent a looser tension at the folds.
To keep track of the number of rounds you have worked, you can place a stitch marker where you knitted your first stitch to join your round. You can also use the yarn tail from your cast on as a marker - when you reach the yarn tail, you have completed a round!
< See all Knitting Video Tutorials

How to Create a Slip Knot
Get Started | 1 min read time
How to Create a Two Needle Cast On (co)
Get Started | 1 min read time
How to Create a Long Tail Cast On (co)
Get Started | 1 min read time
How to Create a Knit Stitch (k)
Get Started | 1 min read time
How to Create a Purl Stitch (p)
Get Started | 1 min read time
How to Create Garter Stitch
Stitches | 1 min read time

How to Create Stocking Stitch
Stitches | 1 min read time
How to Cast Off / Bind Off (bo)
Finish Off | 1 min read time
How to Weave in Loose Ends
Finish Off | 1 min read time